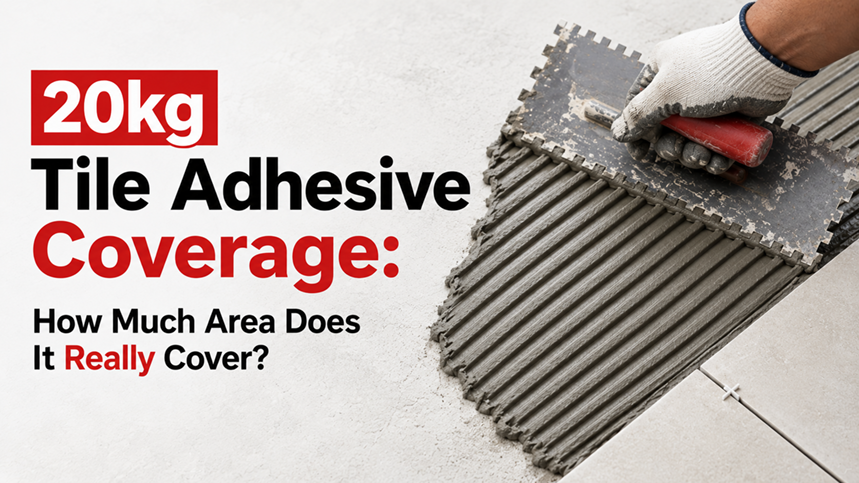
20kg Tile Adhesive Coverage: How Much Area Does It Really Cover?
When planning a tiling project, one of the most common and important questions is: how much area will a 20kg bag of tile adhesive cover? Getting this right is crucial—not just for budgeting, but also for ensuring smooth project execution without delays or material shortages.
In this blog, we’ll break down tile adhesive coverage in a practical, easy-to-understand way so you can estimate your requirement accurately.
What Is Tile Adhesive Coverage?
Tile adhesive coverage refers to the total surface area that can be covered using one 20 KG bag of adhesive, typically measured in square feet (sq. ft.) or square meters (sq. m.).
For a 20 kg bag of tile adhesive, the coverage generally ranges between:
- 20 to 30 sq. ft. (approx.) under standard conditions with layer of 2-4 mm
However, this is not a fixed number. Coverage depends on multiple real-world factors, which we’ll explore below.
Factors That Affect Tile Adhesive Coverage
1. Surface Condition
The smoother the surface, the better the coverage.
- Smooth, level plastered walls or floors (Including Tile-On-Tile applications)
→ Less adhesive required
→ Better coverage - Uneven or rough surfaces
→ More adhesive needed to level gaps
→ Reduced coverage
If the surface is highly uneven, pre-leveling is recommended instead of using extra adhesive.
2. Application Method
Application of the tile adhesive is one of the most important factors to understand the coverage of tile adhesive. The tile adhesive is to be always applied on the tile back & the surface where it is to be fixed.
With Notch Trowel (use notch trowel with appropriate size)
→ Optimal Adhesive Usage
→ Better coverage
Without Notch Trowel
→ Poor Adhesive Usage as the material won’t be evenly spread
→ Reduced coverage
3. Skill of the Applicator
An experienced or certified applicator ensures:
- Even adhesive distribution without missing any corner/ space of the tile.
- Use proper tools to mix & apply
- Minimal wastage
- Optimal coverage
- Proper pressure using rubber mallet to fix the tile
Poor application techniques can lead to uneven layers and higher material consumption.
4. Application Thickness
Using thin bed tile adhesive to create a thick bed is a gross mistake most of the applicators make thinking that more adhesive = more adhesion. Ideally, 2 to 5 mm of thin bed adhesive is recommended to fix the tile.
Increasing the bed thickness will result into less coverage.
How to Calculate Consumption of Tile Adhesive?
Let’s say you need to tile an area of 5000 sq. ft.
As a thumb rule, consider that a 20 KG tile adhesive bag will cover on an average of 20 to 25 square feet practically. Hence:
Total bags required
= 5000 ÷ 20 = 250 bags (If 20 square feet/ 20 KG bag coverage is considered)
= 5000 ÷ 25 = 200 bags (If 25 square feet/ 20 KG bag coverage is considered)
Let us take the average of these 2 and consider 225 bags.
Now, It’s always advisable to add 2–5% extra to account for wastage and site variations.
So, in this case:
→ Final requirement = 230 bags (approx.)
Why Accurate Estimation Matters
1. Cost Control
Overestimating leads to unnecessary expense, while underestimating can cause project delays.
2. Consistent Application
Using the right amount ensures proper bonding and avoids tile failures.
3. Reduced Wastage
Efficient planning minimizes leftover material and site mess.
Tips to Maximize Coverage
- Ensure the surface is clean, level, and dust-free
- Use the notch trowel for your application
- Avoid applying overly thick adhesive layers
- Mix adhesive as per manufacturer guidelines
- Work in manageable sections to prevent drying & manage pot life
Common Mistakes to Avoid
- Using adhesive to correct uneven surfaces. Use mortar to fix the uneven surfaces. For example, Cemgrout NS.
- Poor mixing ratio leading to wastage
- Applying too much adhesive unnecessarily
Final Thoughts
A 20kg tile adhesive bag typically covers 20–30 sq. ft., but the actual coverage depends on tile size, surface condition, and application technique.
Instead of relying on a fixed number, it’s always better to:
- Understand your site conditions
- Choose the right tools and methods
- Plan with a slight buffer
This approach ensures a smoother tiling process, better finish, and long-lasting results.
Disclaimer: Blogs on Cemseal website are created for education purposes only. Kindly contact your engineer /architect/ site contractor for further information.